How to Make Your Bathroom Look Expensive on a Budget (UK 2025 Guide)

You want the expensive-hotel feel without remortgaging the house. Good news: you don’t need marble, you need strategy. The trick is to control what the eye lands on first-light, colour, texture, and tidy lines-then spend where it shows and fake the rest. Expect fresh paint, smarter lighting, bigger mirrors, better textiles, and small hardware swaps to do most of the lifting. If you’re renting, you still have options that peel off cleanly. If you own, a weekend and a few hundred quid can change the room.
TL;DR: Fast wins that fake a high-end bathroom (UK-friendly)
Here’s the short version before we go step by step.
- Paint and caulk make the biggest visual reset for the least money. Use mould-resistant bathroom paint; refresh silicone and grout.
- Upgrade what your eye meets first: mirror, lighting around the mirror, taps/showerhead, and textiles (towels, bathmat, shower curtain).
- Bigger mirror = bigger room. Frame it or choose a pill/arch shape for a designer feel.
- Go for one classy metal finish (black, brass, or chrome) and repeat it on taps, handles, hooks, and the shower rod.
- Hide clutter: decant liquids, add a small tray, and use matching bottles. Clutter kills the luxe vibe.
- Renter? Use peel-and-stick tiles, contact film, Command hooks, and freestanding storage. Landlord-safe but high impact.
Budget guardrails (UK 2025 street pricing):
- Paint and materials: £40-£80
- New showerhead and tap: £60-£200
- Mirror: £60-£150
- Lighting (IP-rated): £25-£80
- Textiles and accessories: £40-£120
If you only do three things this weekend: repaint, swap the shower curtain/rod for a fabric curtain and curved metal rod, and add a large mirror with better vanity lighting.
Step-by-step: Weekend upgrades that deliver the most luxe-per-pound
I’m in Manchester, and our small terrace bathroom had all the issues-damp corners, dull light, cheap chrome. Fiona asked for “hotel calm” without tearing out tiles. We did the lot below over two weekends. Here’s a clean sequence you can copy.
-
Reset the shell: paint, silicone, and grout
- Wash walls and ceiling with sugar soap; rinse and dry. Spot-prime stains.
- Use mould-resistant bathroom paint (look for BS EN 13300 Class 1 scrub rating). Satin or soft sheen bounces light and wipes clean.
- Colour rule: light neutrals on walls (warm white, soft greige), one deeper accent (charcoal, olive) behind the mirror or bath. Keep floors/walls quiet so fittings read “premium.”
- Re-silicone: cut out old silicone, clean with methylated spirits, mask neatly, apply new bead, smooth, and peel tape. Crisp lines look expensive.
- Whiten the grout: a grout pen costs ~£10 and takes an hour. It’s shockingly effective on tired ceramics.
Time: 1 day with drying. Cost: £30-£80. Skill: easy.
-
Upgrade the lighting for hotel clarity
- Target 200-300 lux general light and ~500 lux at the mirror. Use warm-neutral bulbs (2700-3000K) so skin looks good.
- Fit an IP44-rated wall light either side of the mirror, or an IP44+ bar above it. In Zone 1 (inside the shower area), IP65 is safer. Hire a qualified electrician (NICEIC) if wiring new points.
- Swap cool-blue LEDs for high-CRI (90+) warm LEDs. Faces look better, finishes look richer.
Time: 1-2 hours (plus booking electrician if needed). Cost: £25-£80 per fitting.
-
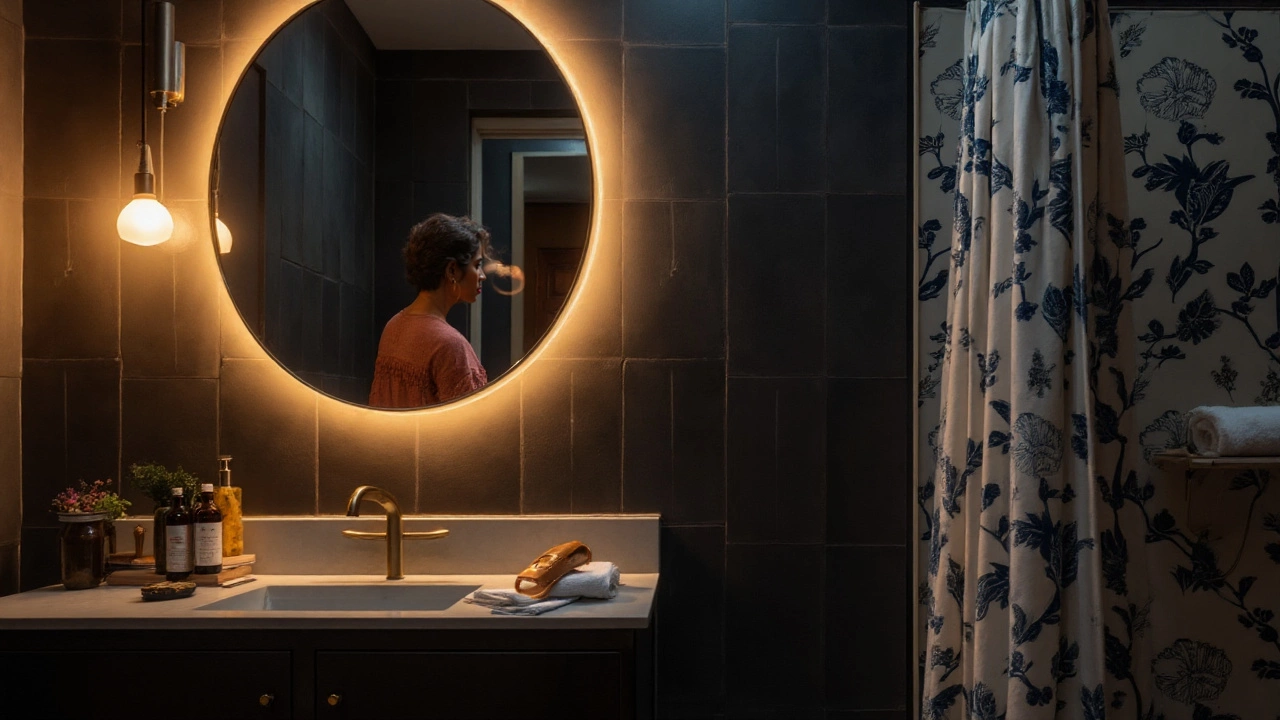
Make the mirror do the heavy lifting
- Go wider and taller than you think. A mirror almost the width of your vanity makes the room feel bigger.
- Shape does the styling: pill or soft-arch screams boutique hotel. Round mirrors soften a boxy room.
- Frame it if you can. Black, brass, or wood frame ties into your chosen metal.
Time: 30-60 minutes. Cost: £60-£150. Impact: huge.
-
Swap the hardware you touch daily
- Taps: simple, single-lever mixers with clean lines look high-end. Mid-budget UK brands are strong now; you don’t need designer labels.
- Showerhead: pick a dual outlet (handset + rain) if possible. For water efficiency, check the Unified Water Label: ~8-10 L/min gives a good feel without waste.
- Match metals: choose one finish-brushed brass/bronze, matte black, or polished chrome-and repeat it across taps, shower, handles, toilet lever, and the shower rod.
Time: 1-3 hours. Cost: £60-£200. Skill: basic plumbing; isolate water, mind PTFE tape, use basin wrench. If unsure, call a pro.
-
Elevate textiles and the shower scene
- Shower curtain: go full-length (hang it high) and use a weighted fabric curtain with a liner. Curved metal rod = instant “hotel.”
- Towels: two bath sheets + two hand towels in a neutral palette. Turkish cotton or combed cotton feels plush and dries fast.
- Bathmat: thick, quick-dry mat in a solid colour. Avoid tiny mats-they look mean.
- Hooks > towel rings: slimmer, neater, more spa-like. Space them evenly.
Time: 30 minutes. Cost: £40-£120. High return on vibe.
-
Hide the mess like a stylist
- Decant shampoo/soap into matching pump bottles (amber, clear, or ceramic). Corral them on a small tray. Two minutes, huge payoff.
- Add a lidded basket for loo rolls; a slim caddy for cleaners under the sink; and a narrow shelf above the loo for candles/plant/art.
- Limit visible items: 5-7 curated pieces total. Everything else lives behind a door.
Time: 30-60 minutes. Cost: £20-£60.
-
Renter-safe glow-up options
- Peel-and-stick vinyl tiles on straight, clean substrates. Great for floors or a splashback. Expect £20-£30/m².
- Matte contact film over ugly worktops or doors. Use a squeegee for bubbles; cut clean edges with a sharp blade.
- Command hooks and rails for towels; freestanding shelves over the loo; tension shower rods-no drilling.
- Swap plastic toilet seats for a soft-close wood or duroplast seat; keep the original to refit when you move.
-
Fix damp and smells (the silent luxury killer)
- Ventilation: UK Building Regulations Part F targets 15 L/s for intermittent bathroom extract. If your fan is weak or noisy, replace it with a quiet, humidistat model.
- Dehumidifier in winter helps dry towels and prevents mould. A compact 8-12 L/day unit usually suffices for a small flat bathroom.
- Seal gaps around the loo and skirting; keep a small plant (e.g., pothos) for fresh visuals if you have some daylight.
Why these work: human eyes read light, order, and contrast first. Clean lines, warm light, one repeated metal, and bigger reflective surfaces trick the brain into “expensive” faster than pricey tile ever could.
Cheat-sheets, examples, FAQs and next steps
Here’s the part you screenshot. It packs cost, time, and the exact moves that sell the upgrade.
Impact vs cost cheat-sheet
| Upgrade | Typical UK Cost (2025) | Time | Skill | Luxe Impact (1-5) |
|---|---|---|---|---|
| Mould-resistant paint + re-silicone | £40-£80 | Half-1 day | Easy | 5 |
| Large framed mirror | £60-£150 | 30-60 min | Easy | 5 |
| Vanity lighting (IP44) | £25-£80 | 1-2 hours | Medium | 5 |
| Tap + showerhead swap | £60-£200 | 1-3 hours | Medium | 4 |
| Textiles (curtain, towels, mat) | £40-£120 | 30 min | Easy | 4 |
| Storage + decanting | £20-£60 | 30-60 min | Easy | 4 |
| Peel-and-stick floor/splashback | £20-£30/m² | 2-4 hours | Easy | 3 |
Quick design rules that never miss
- One metal, everywhere. Mixing finishes looks messy unless you know what you’re doing.
- Warm neutrals on walls; bolder tone on one wall only if the room gets decent light.
- Scale up: bigger mirror, taller shower curtain, wider bathmat. Small bits look cheap.
- Limit visible items to a single “set”: soap + lotion + tray + one plant/candle + hand towel.
- Light at face level beats ceiling spots. Your mirror shots will thank you.
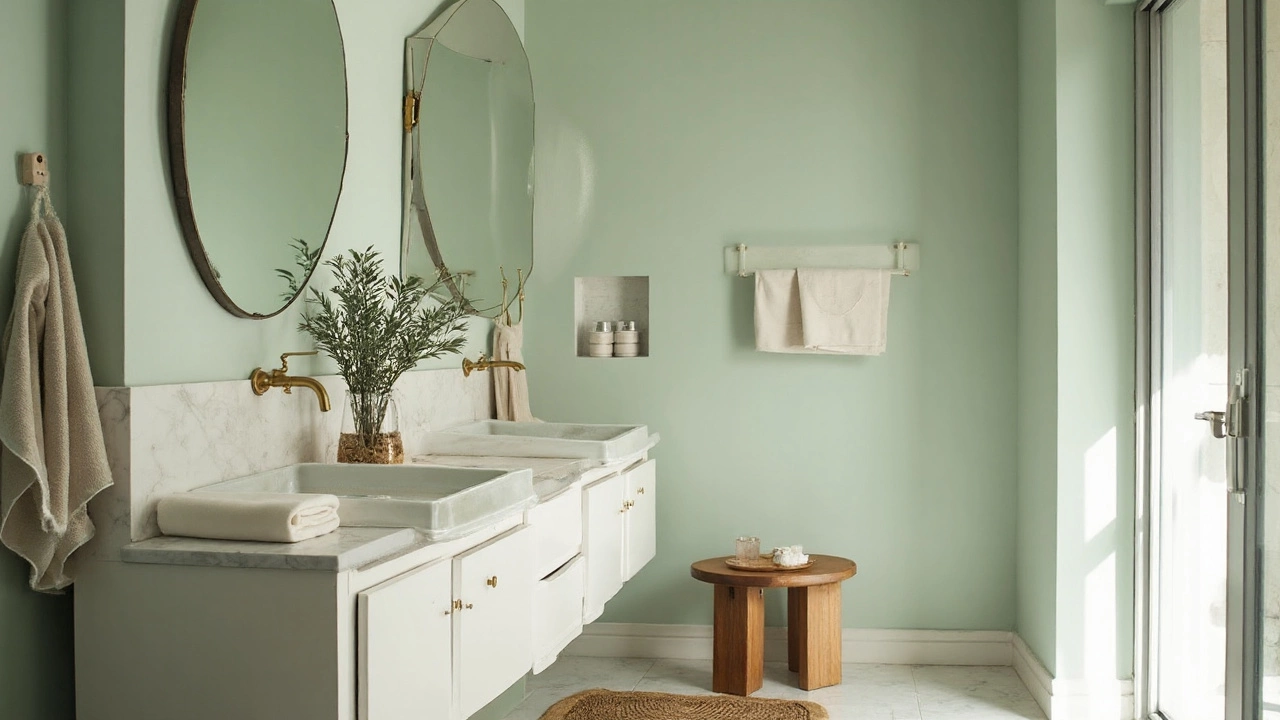
Colour combos that read “expensive” (low risk)
- Warm white walls, black hardware, wood stool, striped Turkish towels.
- Soft greige walls, brushed brass hardware, cream textiles, small olive accent.
- Pale sage walls, chrome hardware, white textiles, rattan basket for warmth.
Examples by budget
- £75 sprint: grout pen, new liner + fabric shower curtain, two fresh hand towels, amber pumps with labels.
- £200 reset: paint + silicone, large mirror, curved black shower rod, bathmat, matching towel hooks.
- £400 glow-up: add a dual showerhead, wall light by the mirror (IP44), upgrade basin tap, decanting set, and a narrow shelf above the loo.
Owner vs renter: what to do
- Owner: paint and hardware first, then lighting, then textiles. Consider a slim vanity swap if storage is dire.
- Renter: peel-and-stick floor, tall fabric curtain, big mirror on brick-safe fixings or leaning if safe, Command hooks, and smart storage you’ll take with you.
Practical safety notes (UK)
- Bathroom zones: Zone 1 (inside shower/bath) needs IP65; Zone 2 (within 0.6 m of bath/shower) needs IP44+. Outside zones still benefit from moisture-rated fittings.
- Ventilation: aim for 15 L/s extraction (Part F). If there’s mould, clean, repaint with mould-resistant paint, and check the fan actually vents outside.
- Water fittings: when picking a shower, the Unified Water Label helps balance flow and efficiency. Under ~8-10 L/min is efficient; test feel with an aerated head.
Common mistakes to avoid
- Buying shiny small things before fixing paint, silicone, and lighting. Get the shell right first.
- Short curtains/rods. Hang the curtain as high as you can; it elongates the walls.
- Four metal finishes fighting each other. Pick one and commit.
- Blue-white bulbs (5000K+) that make skin look grey. Use 2700-3000K warm LEDs.
- Leaving the extractor fan clogged. A dirty fan means damp smells and mould, which never looks luxe.
Mini-FAQ
- Is peel-and-stick safe in a wet bathroom? Yes on smooth, dry walls outside direct splash. Use a quality brand and roll it firmly. For inside showers, use proper tile.
- Do brass taps tarnish? Lacquered (PVD) brushed brass resists tarnish and water spots better than raw brass. Wipe dry; avoid harsh cleaners.
- How many lights do I need? In a small UK bathroom, one ceiling light + one vanity light is usually enough. If there’s no window, prioritise the vanity.
- Best paint finish? Moisture-resistant satin/eggshell on walls; anti-mould bathroom formulas are worth it in the UK climate.
- Will a curved rod leak more water? Not if the curtain and liner are long enough to sit inside the bath. You gain elbow room and a grander look.
Quick measuring cheat-sheet
- Mirror width: 70-90% of basin/vanity width.
- Shower curtain height: top as close to the ceiling/cornice as possible; hem just kissing the floor.
- Hooks: 165-175 cm from floor; space at least 20 cm apart.
- Vanity light: centre ~150-160 cm from floor if side sconces; above-mirror bars ~5-10 cm above the mirror top.
Cleaning and upkeep (so it keeps looking pricey)
- Weekly: squeegee glass, dry taps, quick microfibre wipe of the mirror and fittings.
- Monthly: wash shower curtain/liner, descale the showerhead (vinegar soak), vacuum the fan grille, check silicone.
- Seasonal: touch up paint chips, re-pen grout lines, swap in fresh towels if they’ve dulled.
What actually reads “expensive” to guests
- Warm light on faces, not just bright light on the ceiling.
- A mirror that’s big and clean with no foxing at edges.
- Heavy-feel textiles, tidy bottles, and a good scent that isn’t overpowering.
- Quiet colour palette with one confident contrast (like black hardware) repeated.
Real-life note: I swapped our tiny builder mirror for a pill-shaped framed one, put an IP44 bar above it, and lifted the curtain to the ceiling. Total was under £250. Fiona didn’t ask for new tile again.
Decision help: where to spend first (if you can’t do it all)
- Tier 1: Paint + silicone, bigger mirror, vanity light.
- Tier 2: Textiles + curved rod, decanting + tray, towel hooks.
- Tier 3: Tap/showerhead swap, peel-and-stick floor (renter) or refinish grout lines (owner).
Troubleshooting
- The room still feels small. Check the mirror size, curtain height, and bathmat scale. Go larger on all three.
- Still smells damp. Clean fan, upgrade to quiet humidistat model, run it 15-20 minutes after showers, crack the door, and dry towels on a rail or radiator.
- Light feels harsh. Swap to 2700-3000K bulbs, add a shade/diffuser, or move to side sconces for softer shadows.
- Water spots on black taps. Keep a microfibre cloth nearby; quick wipe after use. Choose brushed over gloss for easier upkeep.
- Landlord won’t allow holes. Use adhesive mounts (high-load Command), tension rods, and freestanding shelves. Keep all original hardware to refit later.
If you’re after the Google-search answer: the cheapest way to make a bathroom look expensive is to fix light, lines, and surfaces-paint + mirror + lighting-then layer in one metal, fabric heft, and zero clutter. Everything else is garnish. Do those, and your bathroom will read “hotel” the second you flip the switch.