How to Choose a Mirror for Your Room: Size, Placement, and Style Guide (2025)

You want a mirror that makes your room look bigger, brighter, and more put-together without turning into a wobbly eyesore. The right one does all three. The trick is getting size, placement, and purpose to work together-then matching frame, glass quality, and light to your space. Expect simple rules, a step-by-step plan, and examples you can copy.
What you’ll sort today: picking the right size, where to hang or lean it, what shape works, what to avoid with light and glare, how to mount it safely (UK homes, plasterboard, rentals), and how much to spend without regret.
TL;DR and fast rules that actually work
mirror size guide
- Pick the purpose first: outfit checks, making a small room feel bigger, bouncing light, dressing table grooming, or a focal point.
- Size rule of thumb: over furniture, choose a mirror at 1/2 to 3/4 the width of the piece. On a blank wall, go as big as the wall can sensibly handle with 10-20 cm breathing space each side.
- Height rule: hang so the mirror’s centre sits around 145-150 cm from the floor (gallery eye level). Over a console/sofa/bedhead: leave 15-20 cm gap above.
- Full-length needs height, not width: at least 140 cm tall to see head-to-toe at 1.5-2 m distance.
- Shape tricks: tall mirrors lift low ceilings; wide mirrors stretch narrow rooms; round mirrors soften hard lines and corners.
- Light: place opposite or diagonal to a window to bounce light, but not where it blasts direct sun into eyes or screens.
- Glass quality matters: look for copper-free, low-iron glass for crisper reflection; avoid funhouse bend by buying from reputable brands.
- Bathrooms: check safety and moisture suitability (EN 1036 mirror glass; toughened per EN 12150 or safety film per EN 12600). For lighted mirrors near showers, aim for IP44 in Zone 2 (BS 7671).
- Mounting: heavy mirrors = wall studs or a French cleat; masonry = proper plugs. Renters: consider leaning mirrors or freestanding frames.
- Budget: small decorative £20-£60; mid-size 60×80 cm £40-£120; full-length £60-£180; large leaner/designer £200-£600+. LED/backlit: £80-£300.
Shortcut decision tree:
- Tiny, dim room? Large, light frame or frameless, hung opposite/diagonal to a window.
- Rental with plasterboard? Go for a floor-leaning full-length or a medium wall mirror hung on studs using D-rings.
- Modern scheme? Frameless or slim black/bronze frames. Traditional? Wood or antique brass with bevelled edge.
- Make it a focal point? One oversized piece beats three small ones every time.

Step-by-step: measure, choose, mount (with UK-ready tips)
This is the simplest path that avoids 90% of mistakes.
-
Define the job
- Outfit checks: full-length near a wardrobe or hallway; at least 140 cm tall.
- Make room feel bigger: the biggest mirror your wall supports without crowding; place where it reflects open space or a window view.
- Grooming/desk: 50-80 cm width above a dressing table, ideally with lighting around 3000-4000K and CRI 90+ so skin tones look natural.
- Statement piece: oversized over a sofa, fireplace, or entry console; aim for 2/3 the furniture width.
-
Measure your wall and furniture
- Width formula (over furniture): mirror width ≈ 0.5-0.75 × furniture width. Example: 120 cm console → mirror 60-90 cm wide.
- Clearance: leave 10-20 cm from mirror edge to adjacent walls/mouldings; 15-20 cm above furniture; 20-30 cm below ceiling for large pieces.
- Ceiling height trick: for 2.3-2.4 m ceilings common in UK terraces/flats, a tall, narrow mirror elongates the feel of the room.
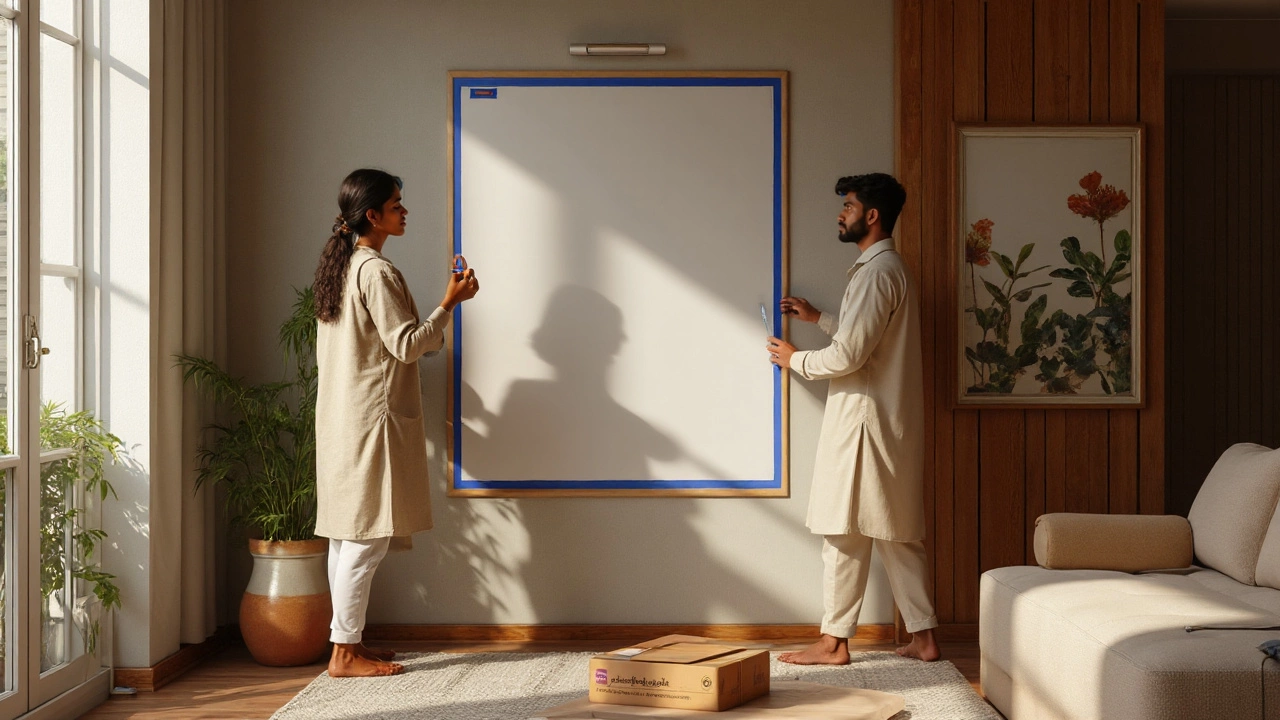
- Paper template: tape newspaper/cardboard in the intended mirror size to test proportion and reflections before buying.
-
Pick the shape and frame
- Rectangles: most versatile; use vertical orientation for height, horizontal for width.
- Rounds/ovals: soften angular rooms and look great above consoles and sinks; size them generously (60-90 cm) or they look mean.
- Arched: adds character in new builds; echoes traditional doorways without going full period.
- Frames: thin black or bronze = modern; oak/walnut = warm; brass = elegant; rattan = relaxed. In small rooms, lighter frames feel less heavy.
- Edge details: bevelled edges add a subtle lift and catch light nicely on classic schemes.
-
Check glass and build quality
- Flatness: ask for or check reviews mentioning no warping. Poor backing or thin glass causes funhouse distortion.
- Backing: copper-free/silvered mirrors resist black edge rot in humid rooms. Look for EN 1036 compliance for interior mirror glass.
- Safety: for big pieces or where kids play, prefer toughened glass (EN 12150) or safety film (EN 12600). In bathrooms, both moisture and shatter safety matter.
-
Plan lighting and placement
- Natural light: place opposite or diagonally to windows to bounce light deeper into the room. Avoid placing where direct sun bounces into eyes or TV.
- Artificial light: sconces either side of a vanity mirror at 150-165 cm height or an LED backlit mirror (CRI 90+, 3000-3500K warm-neutral).
- Backlit/LED mirrors: look for dimmable options and demister pads (typical 12-20 W). For bathroom zones, check IP44 rating in Zone 2 per BS 7671.
- Avoid harsh top-down only lighting for grooming; it casts unflattering shadows.
-
Choose mounting method
- Weight check: a 60×80 cm mirror can weigh 5-10 kg; large leaners can hit 25-30 kg. Confirm weight before choosing fixings.
- Stud walls (plasterboard): find studs with a detector and use wood screws into studs via D-rings or a French cleat. If you must use hollow-wall anchors, pick metal toggles rated well above the mirror’s weight and use two or more.
- Masonry: use appropriate wall plugs (brown or blue) and screws sized to the fixing points; a French cleat spreads load and keeps the mirror dead level.
- Rentals: leaning full-length mirrors are safest. If hanging, use existing holes where possible and small-to-medium mirrors with multiple Command-type strips rated for the mirror’s full weight. Avoid strips on textured paint, cold walls, or in humid rooms.
- Anti-tip: leaners should be tethered at the top with discreet straps, especially with kids or pets.
-
Hang at the right height
- General eye level: centre at 145-150 cm from floor. If most users are very tall/short, adjust a touch, but keep the centre roughly there.
- Over furniture: aim for 15-20 cm above the top surface. Mantelpieces look best with the mirror’s bottom edge 7-15 cm above the mantle.
- Groupings: mirror + art? Keep a consistent visual centre line; spacing between pieces 5-10 cm.
-
Do the reflection test
- Stand where you’d normally be and check what’s reflected: a window, a plant, or artwork = good. Clutter or the loo = maybe rethink.
- Take a quick phone snap from the room entrance. If the mirror creates a clean sightline and lifts the space, you’re good.
Common pitfalls to dodge:
- Going too small. A tiny mirror over a wide sofa looks lost. Err on the larger side if in doubt.
- Hanging too high. If you can’t see your face without tiptoes, it’s wrong. Use the 145-150 cm centre rule.
- Ignoring humidity. Standard wall mirrors can develop black edge rot in bathrooms. Get bathroom-rated with sealed backs.
- Fixing heavy mirrors with flimsy hooks. Use two fixings minimum and spread the load.
- Glare. Don’t place a mirror where it reflects bare bulbs or the midday sun into seating.

Real-room examples, quick references, and answers
Use these examples as templates and tweak to fit your room.
1) Small UK bedroom (2.6 × 3.3 m), low light
- Goal: brighter, less cramped feel, a place for outfit checks.
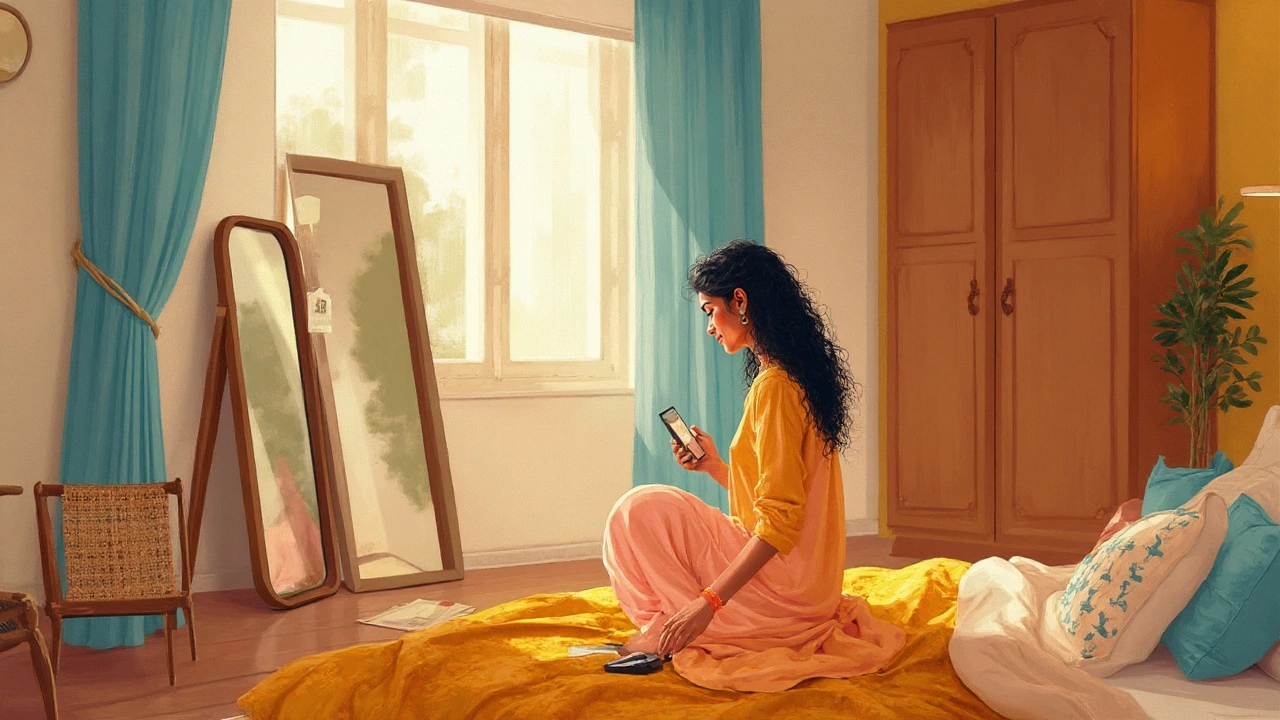
- Solution: 60×160 cm slim black full-length leaner next to the wardrobe, angled to catch light from the window. One 70 cm round mirror above the chest of drawers, centred at 150 cm.
- Why it works: tall mirror elongates the room; round mirror softens; both bounce light without glare.
- Fixings: leaner tether to a stud; round mirror on two screws into wall plugs.
2) Narrow hallway (0.9 m wide)
- Goal: look wider and offer a last look before heading out.
- Solution: horizontal 90×60 cm mirror above a slim console; centre at 150 cm. If no console, go for a vertical 40×140 cm mirror at the hallway end to draw the eye.
- Why it works: horizontal reads wider; vertical at the end creates depth.
3) Living room with a 180 cm sofa
- Goal: strong focal point without overpowering.
- Solution: arch-top 120×90 cm mirror hung 20 cm above the sofa back. Frame in brass or bronze to tie metal accents.
- Size math: 2/3 of 180 cm ≈ 120 cm-bang on.
4) Bathroom vanity 80 cm wide
- Goal: flattering, safe grooming light plus demist.
- Solution: backlit 70×90 cm portrait LED mirror, IP44, with demister and 3000-3500K light, CRI 90+. If sockets allow, side sconces at 150-165 cm add even better facial light.
- Safety: EN 1036 mirror glass; toughened or safety-backed; wiring per BS 7671 by a qualified electrician.
5) Renter’s lounge in a Manchester flat
- Goal: big look, minimal wall damage.
- Solution: 70×160 cm leaner mirror with an anti-tip strap into the skirting/top wall. If you must hang, a 60 cm round using existing plug holes and wall plugs; avoid heavy oversized pieces on hollow walls without studs.
Quick sizing reference
| Mirror type | Typical dimensions (cm) | Best for | Approx. weight | UK price range (2025) | Notes |
|---|---|---|---|---|---|
| Small round/accent | 40-60 dia | Entry, above hooks, layering | 2-5 kg | £20-£60 | Go larger than you think for impact |
| Medium rectangle | 60×80 | Over dressers, hallway | 5-8 kg | £40-£120 | Workhorse size for most flats |
| Full-length wall | 40-50×140-160 | Outfit checks, bedrooms | 7-12 kg | £60-£180 | Needs 140 cm+ height to see head-to-toe |
| Leaner (large) | 60-80×160-200 | Feature, living/bed rooms | 12-25 kg | £120-£400 | Always tether to wall for safety |
| Oversized statement | 90×180 or 100+ dia | Big walls, focal points | 15-30 kg | £200-£600+ | Use cleat mount; check stud/masonry |
| Backlit LED | 60×80 / 70×90 | Bathrooms, dressing | 6-10 kg | £80-£250 | CRI 90+, 3000-4000K, demister 12-20 W |
| Smart fitness mirror | 50-60×140-170 | Home workout rooms | 20-30 kg | £500-£1,200 | Check Wi‑Fi, wall load, privacy settings |
Cheat-sheet: quick rules
- Over furniture width: 50-75% of the piece below.
- Centre height: 145-150 cm from floor.
- Full-length: 140 cm+ tall; stand 1.5-2 m away for full view.
- Small rooms: go tall; narrow rooms: go wide; harsh rooms: use round/oval to soften.
- Opposite window: yes, but avoid glare points and hot spots on seating.
- Bathroom: IP44 near splash zones; safety glass/backing; qualified electrician for wired lights (BS 7671).
- Mounting: two fixings minimum; prefer cleats for heavy/oversized; tether leaners.
- Finish: match or intentionally contrast existing metals; keep one dominant metal to avoid chaos.
Mini-FAQ
- How big should a mirror be above a sofa? Roughly two-thirds the sofa width. For a 200 cm sofa, 120-140 cm wide works nicely.
- Can I put a mirror opposite a window? Yes, to bounce light and view-but not if it blasts glare into the seating area or screen. Test with painter’s tape before drilling.
- Do mirrors actually make rooms brighter? Yes, by reflecting existing light deeper into the space. It won’t create light, but it redistributes it. Biggest gain when placed to catch daylight.
- Bathroom mirror fogging-what works? A demister pad (12-20 W) behind the glass clears condensation quickly. Ventilation still matters.
- Is bevelled glass dated? No. A small 10-20 mm bevel on a clean frame looks sharp in both classic and modern rooms.
- Are stick-on mirrors safe? For lightweight pieces on sound paint, maybe. For heavy mirrors, no-use proper mechanical fixings.
- What standards should I look for? EN 1036 for interior mirror glass; EN 12150 (toughened) or EN 12600 (safety glass/film). For electrics in bathrooms, follow BS 7671 guidelines and product IP ratings (IP44 Zone 2).
Next steps
- Measure your wall and the furniture width. Write down ceiling height.
- Decide the job (outfits, light, focal point). Choose shape accordingly.
- Use a paper template on the wall to test size and height. Do the reflection test.
- Pick frame finish that ties into one existing metal/wood tone in the room.
- Confirm weight and choose the right fixings (studs/cleat/masonry plugs). If in a bathroom, check IP and safety glass.
- Hang, level, and tether if leaning. Step back and take a photo-adjust if needed.
Troubleshooting
- It looks too small. Lower it slightly (often fixes scale), or swap for a larger size. Over furniture, aim closer to 3/4 width.
- It’s warping my reflection. Likely thin glass or poor backing. Return it; buy from a brand that states glass thickness and standards.
- Command strips failed. Surface may be dusty, cold, or textured; weight may exceed rating. Use mechanical fixings or leaner style.
- Glare on the sofa/TV. Shift the mirror to reflect a darker surface (e.g., a bookcase) or tilt it slightly downward using adjustable hangers.
- Steam won’t clear. Add/expose the demister, improve extraction, or move the mirror out of direct shower plume.
- Plasterboard flexes. Reposition into studs, use a French cleat, or switch to a lighter mirror.
If you remember only three things: pick purpose first, size to the wall or furniture (err large), and mount safely with the right fixings. Do that, and your mirror will make the room-not fight it.